In UIKit, one typically sets up UIScrollViews by setting the contentSize property to the size of the scrollable content and adding the scrollable view as a subview of UIScrollView.
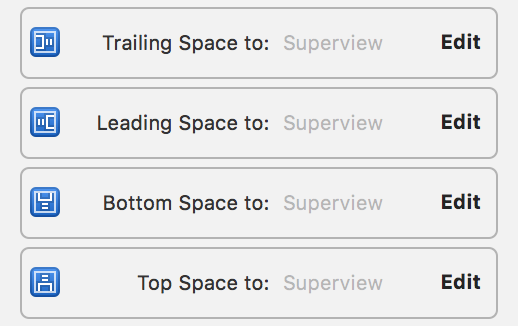
On the Mac, things are a bit more involved due to AppKit’s 20+ year-old legacy. It’s best to learn this by example, so let’s get started by creating a new Mac app with the non-document-based Cocoa template, using Swift as the language. Next, open MainMenu.xib and drag in a standard scroll view from IB’s Object library. Before we forget, let’s pin the edges of the scroll view to the window’s content view:
If we look in the document outline on the left, we see our scroll view, which contains a clip view, which contains a “View”. This “View”, which I’ll call the document view from now on, is the content we’re scrolling. In an image editor, this would be the view that draws the canvas. The document view is also the view we’d add as a subview of UIScrollView in UIKit.
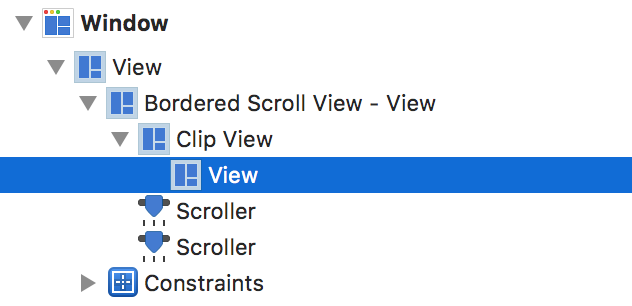
Between the document view and the NSScrollView is a clip view. This is the view that changes the bounds of the document view during scrolling and clips drawing to the visible area of the scroll view. Since NSScrollView predates Core Animation and GPU-accelerated UIs, this is how performance was achieved in the NeXT days (the same time period brought us the now-deprecated NSCell).
So how do we automatically center a document view in a scroll view? First, we need to set a document view to display our content. Then we’ll extend the clip view to support auto-centering.
In this example, we’ll display a simple colored square (that’s smaller than the size of the window) in our document view. Let’s add a new class named ColorView that we’ll fill with a solid color. To do the drawing, we can take advantage of update layers instead of overriding -drawRect: to avoid doing a CPU-bound fill operation:
import AppKit

final class ColorView: NSView {
	override var wantsUpdateLayer: Bool {
		return true
	}

	override func updateLayer() {
		layer!.backgroundColor = NSColor(SRGBRed: 0.8, green: 0.3, blue: 0.2, alpha: 1).CGColor
	}

	override var intrinsicContentSize: NSSize {
		return NSMakeSize(100, 100)
	}
}
We also give the view an intrinsic content size. This is conceptually-equivalent to setting the contentSize property of a UIScrollView. We could have also set explicit width and height constraints, but this is easier to manage for content that can resize itself. For example, if the size of the canvas in an image editor changes, all we have to do is invalidate the intrinsic content size and everything else Just Works.
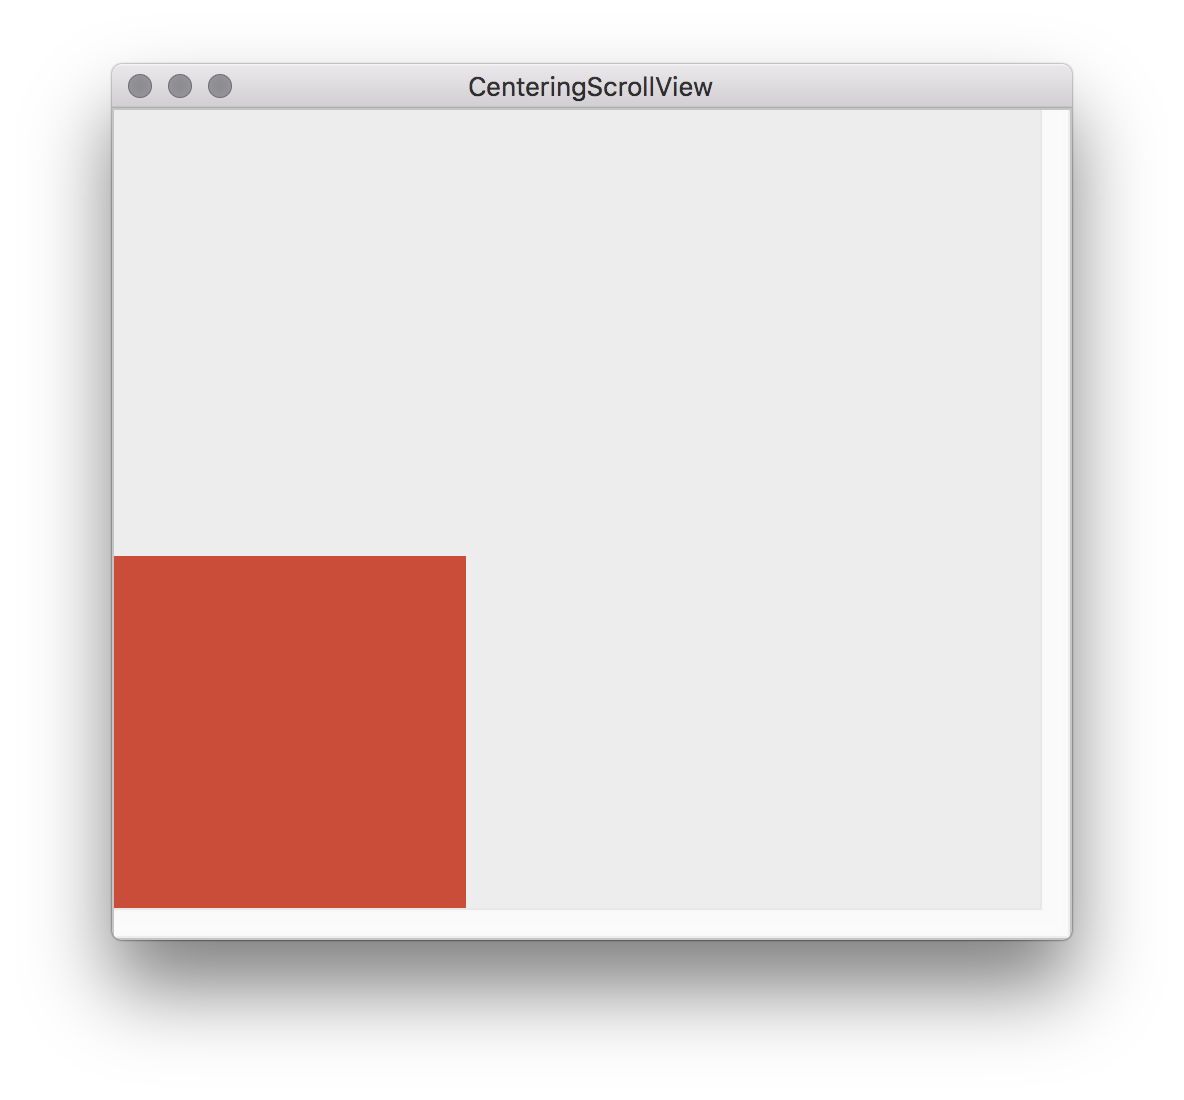
Now we just have to switch to our XIB file and set the document view’s class to be ColorView in the Identity inspector. If we run the app now, you’ll notice the square is at the bottom-left corner of the window.
To center the document view, we have to override NSClipView. If you tried adding centering constraints between the document view and the clip view, you already know this doesn’t work, probably for legacy reasons – Auto Layout had to be bolted on top of AppKit layout code that’s decades old.
Let’s create a new CenteringClipView subclass of NSClipView. We’ll override -constrainBoundsRect: to inset the rect passed in such that it is centered in the clip view if the width and height of the document are smaller.
The finished implementation is pretty straightforward AppKit geometry:
import AppKit

final class CenteringClipView: NSClipView {
	override func constrainBoundsRect(proposedBounds: NSRect) -> NSRect {
		var constrainedClipViewBounds = super.constrainBoundsRect(proposedBounds)

		guard let documentView = documentView as? NSView else {
			return constrainedClipViewBounds
		}

		let documentViewFrame = documentView.frame

		// If proposed clip view bounds width is greater than document view frame width, center it horizontally.
		if documentViewFrame.width < proposedBounds.width {
			constrainedClipViewBounds.origin.x = floor((proposedBounds.width - documentViewFrame.width) / -2.0)
		}

		// If proposed clip view bounds height is greater than document view frame height, center it vertically.
		if documentViewFrame.height < proposedBounds.height {
			constrainedClipViewBounds.origin.y = floor((proposedBounds.height - documentViewFrame.height) / -2.0)
		}

		return constrainedClipViewBounds
	}
}
Again, we have to change the identity of the clip view in the XIB file to point to our custom subclass, CenteringClipView.
If we run the project now, you’ll notice the document view remains centered as we resize the window. Let’s go a step further and see what happens if we enable magnification support (read: pinch-to-zoom).
Select the scroll view in the XIB file and in the Attributes inspector look for Magnification options. Tick the ‘Allow’ check box and change the minimum and maximum scale factors to 1 and 4, respectively.
If we re-run the app and pinch outward a tiny bit, you’ll notice the document view re-centers itself as we end the gesture.
The finished sample code can be found on GitHub.